Grannas Racing
Mazda RX-7 Manual Steering Rack FD3S (power steering delete)
$ 1,350.00
)

Grannas Racing
Mazda RX-7 Manual Steering Rack FD3S (power steering delete)
$ 1,350.00
NOT AVAILABLE FOR RHD
QUICK RATIO RACK IS CURRENTLY NOT AVAILABLE
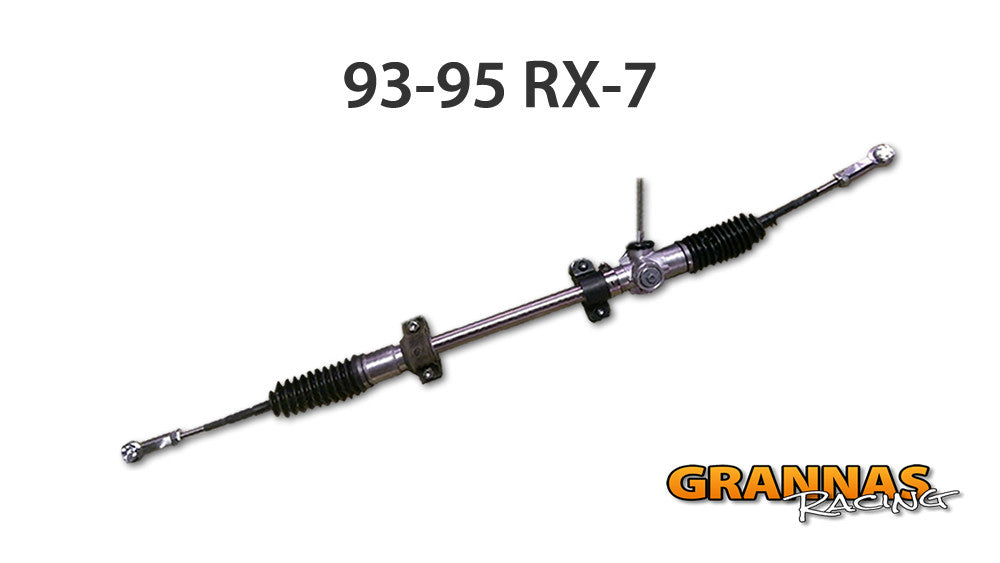
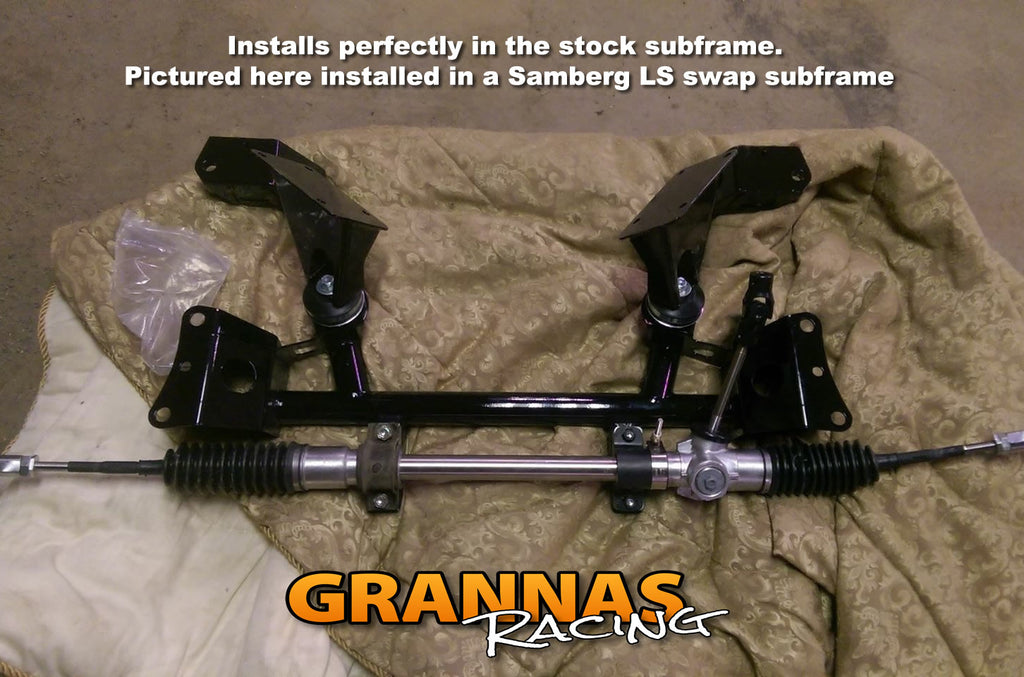
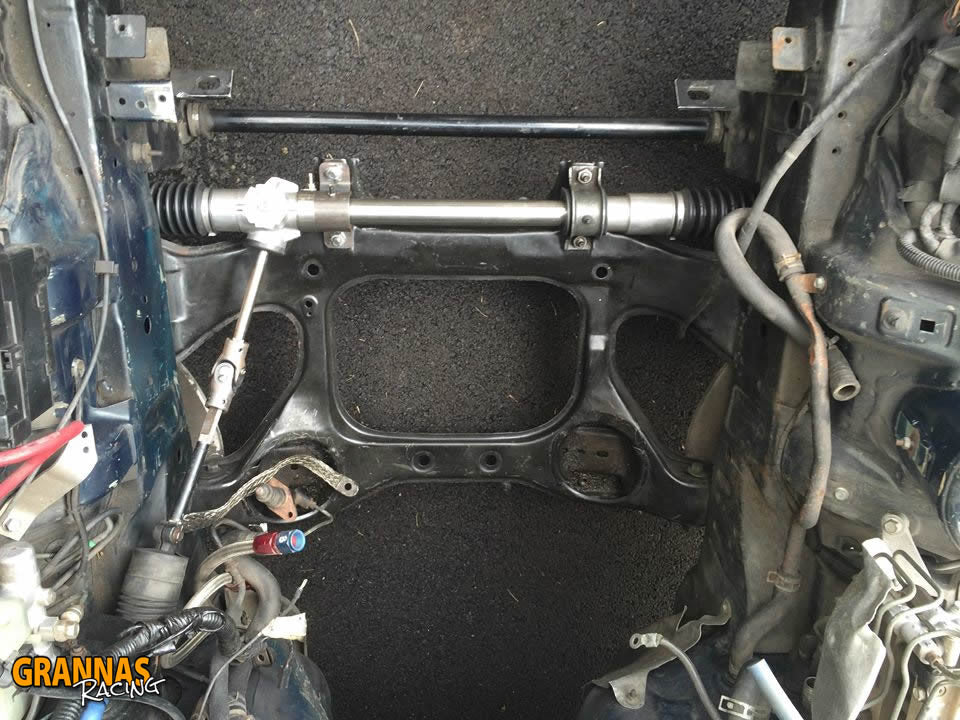
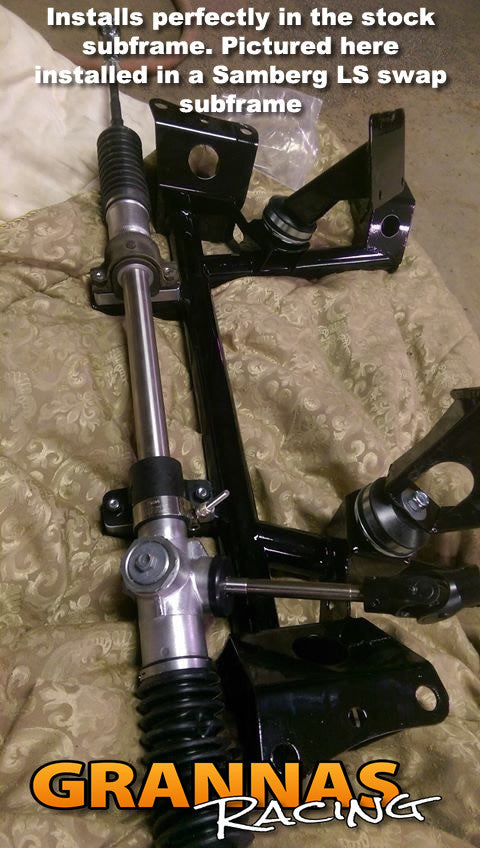
This is a full bolt in manual rack for the Mazda FD3S Rx7. It works with the factory outer tie rods, bolts into the factory mounting spots, and comes with a u-joint to adapt to the factory steering shaft. This is a power steering delete kit to completely replace the power steering system (power steering pump, reservoir, lines, power rack and fluid).
There are several advantages to this rack over a modified stock rack:
- If you are removing all power steering components you will save 25 lbs!! The rack alone weighs 10lbs less than the stock rack!
- You can keep your power rack in tact, and return to power steering if you ever decide to sell the car. No need to modify your stock rack!
- No Down Time! No need to send your rack off to be modified. No core charges.
- Options for faster ratio (14:1) or slower ratio (20:1) than stock.
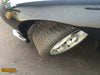
- Longer rack travel which results in a tighter turning radius that stock (see pic)
KIT SPECS:
- Ratio: 14:1 or 20:1 (I recommend 20:1 for street cars, this is easier to turn / slower ratio)
- Travel: 14:1 = 1.75" per 1 revolution, 20:1 = 1.5" per 1 revolution
- The travel distance on this rack is a decent amount longer than the stock rack
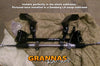
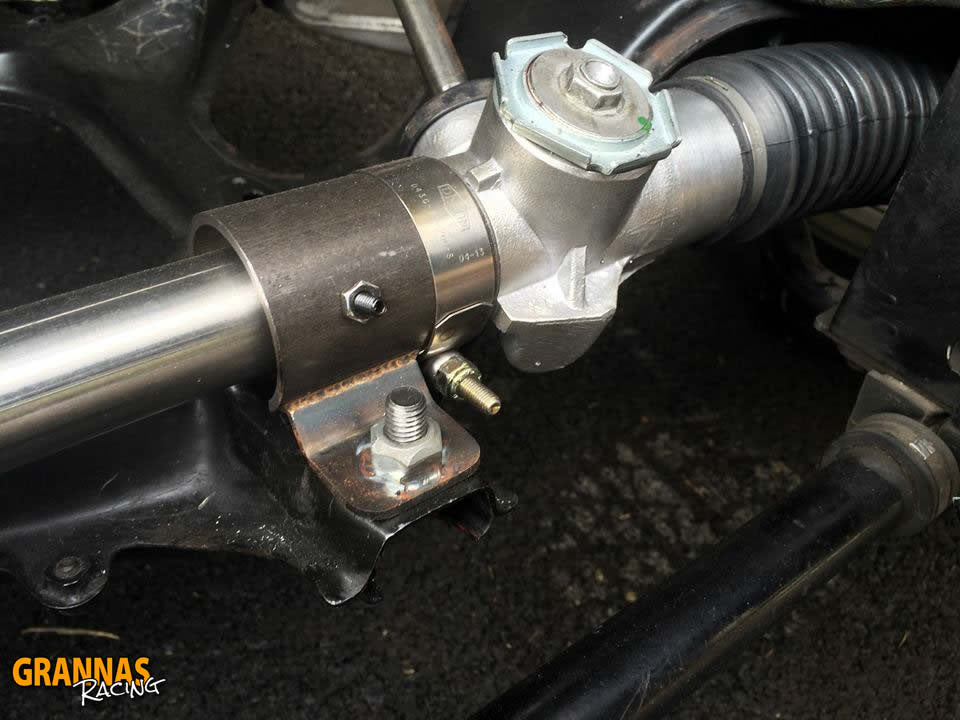
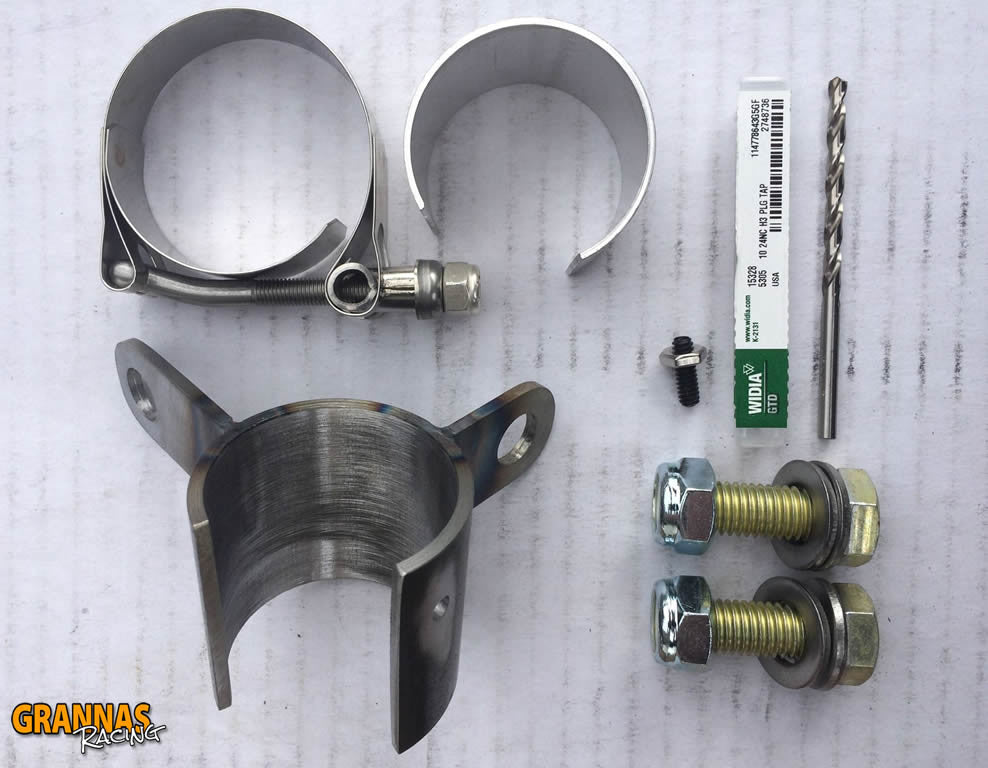
- Drivers mount is unique, allows you to clock the rack to have clearance for different engine combinations, like you LS guys, might need to clock it down more to allow for header clearance etc. Includes a drill bit, tap and set screw to lock it where you want it.
You might say, wow this is very expensive for something so simple, and I do not disagree! However, it is the a reflection of the costs involved to make this unit.
Here is why it costs what it does:
- Disassemble the rack from factory and prepare it for modifications.
- Both inner tie rods go on a CNC lathe, where they are cut down and rethreaded to fit the FD outer tie rod threading.
- Drivers side mount is built. Custom mount was designed and built to allow this rack to bolt into the factory location. The rack uses the factory passenger side mount.
- Purchase U-joint to adapt rack to the factory FD intermediate shaft
- Rack is reassembled with the cut down inner tie rods
INSTALLATION GUIDE:
IMPORTANT NOTE: When you go to install the rack, install it with ONLY the passenger side mount first, and make sure the passenger side bushing is properly synching down on the rack. I have seen customers install these with old, worn bushings and it is not secure. Make sure the passenger side own its own holds the rack nice and tight, and then after confirming it does.... then proceed to install the drivers mount. You want to have two side fully holding the rack securely, not just depending on the drivers side mount to hold all the stress. Also, do not overtighten the u-bolt clamp on the drivers side.
Related products


v